Showing posts with label beauty tutorial. Show all posts

Smokey Date Night Makeup Tutorial!

Hello everyone!

Before I start this tutorial I have a quick question for you. Does anyone who reads my blog also watch Revenge? I just started watching it and I am HOOKED! Comment down below and we'll chat, just please no spoilers!

Okay now for the tutorial! Here's a quick overview of the look and the products I used:


This time I started with my face because if I'm doing a look with winged eyeliner, I don't want to wreck it while I'm applying primer and foundation!

Not my pic! Found on ulta.com! 


I applied my Eyes Lips Face Mineral Face Primer as usual with my fingers, paying extra attention to dry patches and the area around my nose where my pores tend to be as big as black holes! 

For this tutorial I decided to give Revlon's Nearly Naked Foundation in Ivory another try (review coming soon!). This foundation is a shade too light for even my pale winter skin so bronzer and blush was a must for this look!
I used my usual favorite blush and bronzer, both by ELF. Thinking this in the tune of a broken record, the bronzer is their Mineral Pressed Bronzer in Caramel Cabana, and their Baked Blush in Peachy Cheeky.

After finishing my face, I moved onto my favorite place to experiment, my eyes!

First I prime my eyelids and undereye area with ELF's Mineral Eyeshadow Primer.


After I blend out the primer, I apply eyeshadows from my Hard Candy palette in this order:

First I apply the camel looking color in and just above my crease. Then I apply the light pink all over a lid. Third I apply the light brown shade all in my crease and blend it with the other colors. Then I apply the darkest brown on my outer-V and blend it slightly into the crease.

I find that after all that blending, the opacity of the pink shadow fades so I'll go back in and apply it on the lid. After I do that, I'll take the white color in the palette (which my camera didn't even pick up on) under my brow and in my inner corner. 

Once my shadow is done, I use ELF's (of course!) Cream Eyeliner in black to create a winged liner. I'm hoping to eventually do a tutorial on how I apply my winged liner so it looks great every time, but for now it shall remain a mystery! :)

As for my brows, all I do right now is take an angled eyeliner brush and use the same light brown that I used in my crease (#3) to fill them in. They really need to be touched up so I don't overfill them or else they'll look ridiculous!

Oh snap! I almost forgot to tell you all what I'm wearing on my lips! Today I picked Wet n Wild's Megalast lipstick in 901B "Think Pink". I think this was the perfect light pink to wear for this look! 


After I'm happy with my eyeliner, I curl my lashes and apply mascara. For this look I'm using my Rimmel London Scandaleyes mascara in waterproof black. I love using this mascara for more dramatic looks because it makes my lashes look almost like I'm wearing falsies! 

Here's one last look on this...look:


Okay guys, that's it for today's tutorial! Can you tell I'm obsessed with doing tutorials lately?? As always please find me on social media or comment below! 

Xoxo,
Brig


My ikatehouse affiliate link: http://www.ikatehouse.com/?mw_aref=8161f5d154a17e1412f65b4eac1cd80e 
This company has many makeup brands for an affordable price, including NYX, L.A Girls, Jordana and more!

One Brand Full Face Tutorial Featuring Eyes Lips Face (E.L.F) Cosmetics!

Hello everyone!

Today I have a full face makeup tutorial using ONLY Eyes Lips Face (EL.F) products! If you don't know who ELF Cosmetics is, they are a vegan, cruelty free makeup brand that sells amazing quality makeup at a VERY low price! There's a lot of hype about them from many youtubers and other beauty blogs so if you want to know more, check them out! That's how I originally discovered the brand and I've never looked back!

Today's look is a pretty neutral, spring time look with a nice pop of color on my lips, so let's get into it!!

What I did first was wash my face with my Dickinson's face wash and Target brand apricot scrub to kill any dry patches that my foundation may stick to. I then used my new favorite Jafra dynamics hydrating moisturizer and let it sink in. Here's my bare face so you can see what I have to work with!

As you can see acne scars and discoloration from dry patches are ruling my face at the moment! ALSO PLEASE EXCUSE MY CRAZY HAIR! I just really wanted to get a post up for you guys and didn't think about my hair:)

Here's an overview of the products I used:


The first thing I do before I put any makeup on my face is apply my holy grail E.L.F Mineral Primer in Clear. I love this primer, it works really well. I even use it on days where I don't wear any other makeup! It keeps my dry skin at bay and helps the appearance of my pores.

After primer, I apply my E.L.F (duh!) Studio Flawless Finish Foundation in Porcelain. This foundation has a nice medium coverage, but it is buildable without getting cakey. Word of warning though, people have told me that the deeper shades have a orange tone to them so if you want to try this foundation, I would buy it from a store if possible and not from their website. That being said, this foundation isn't a traditional porcelain shade, it is at least a shade darker than porcelain and had a yellow undertone to it which luckily works well for me!

I usually apply the foundation with my hands but if I need it blend it more or just feel like using a brush, I use the E.L.F powder brush. This brush is super dense and blends everything from liquid foundations to blush and bronzer like a dream!!


Next I applied my eyelid primer, which also works really well as a lightweight concealer FYI! After eyelid primer, I applied my baked eyeshadow in Enchanted! This is a super nice golden color that is perfect for a low key look or a smokey eye! Any shadow I apply to my lid I apply with my E.L.F Professional Eyeshadow Brush. Their studio line also has a brush like this but I think it's called their C shaped brush, or something like that!


Since I don't own any matte eyeshadow shades from E.L.F, I used the same bronzer that I'm using on my face, in my crease! That's what I love about makeup, no rules! You can use bronzer as eyeshadow and lipstick as blush, it doesn't matter! :)


After my eyeshadow look is finished, I move on to eyeliner and mascara! The eyeliner I used is their Cream Eyeliner in Black. I didn't do anything special, just a simple look, no wing or anything. The mascara I used is their Lengthening and Volumizing Mascara in Black. Normally I would use a way more volumizing mascara but since this is a one brand tutorial, I used this one!


After eyeliner and mascara is brows! I usually use an eyeshadow from Hard Candy to fill in my brows because it looks more natural but today I used my E.L.F Eyebrow Kit in Light, which I think is a teeny bit too dark for me, especially for spring and summer! For special occasions though, this is really nice! The way I applied this is a little backwards because usually people use the wax and then the powder. I used the powder and then the wax because the powder is too light to set the wax which is darker. I find that it sits the same as if I set the wax with the powder.


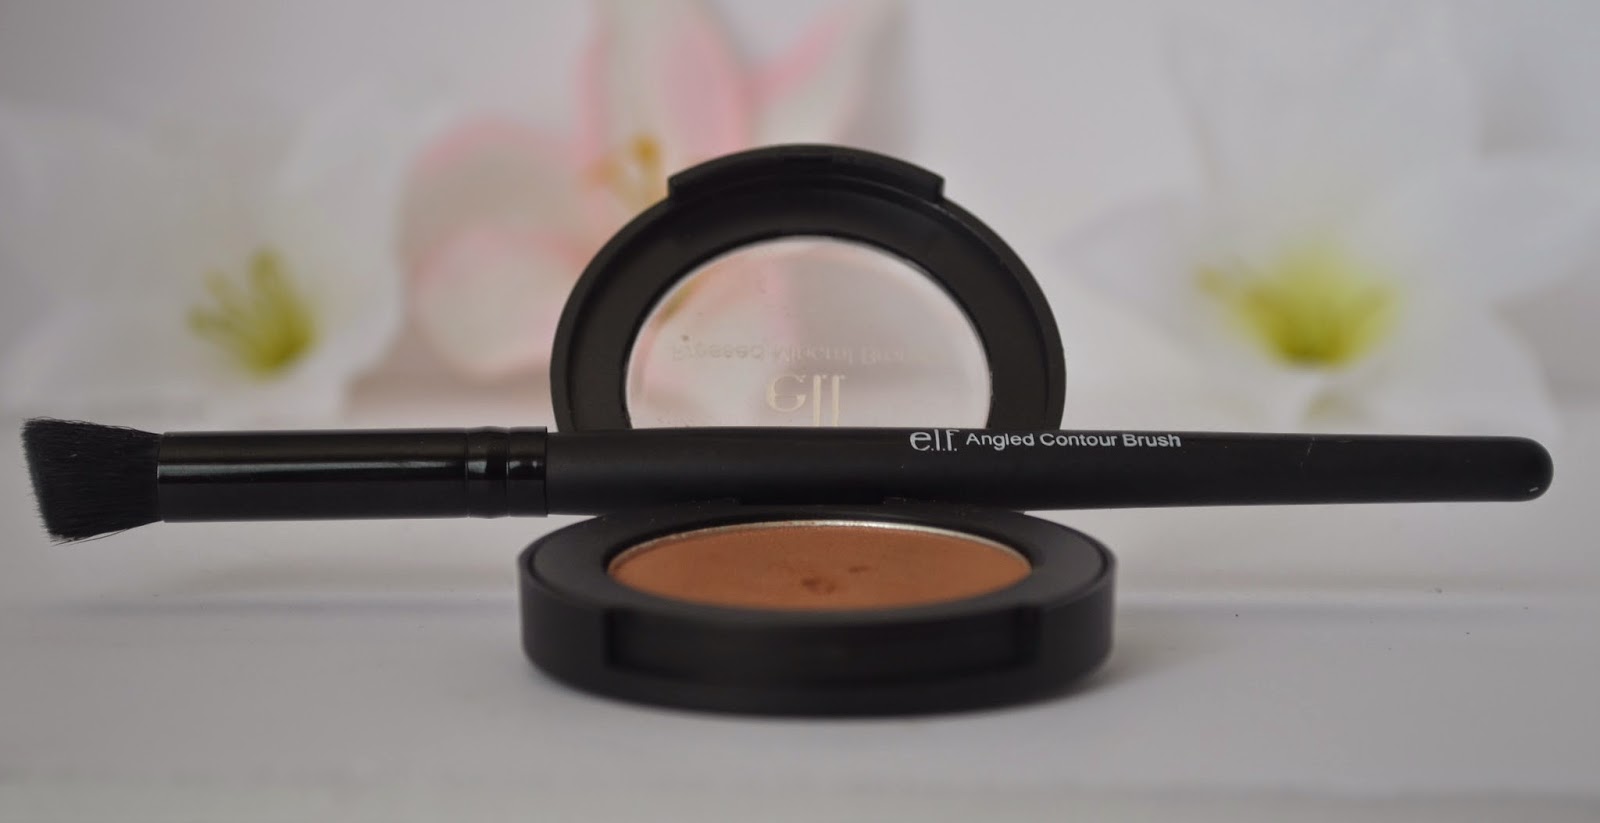
After brows, I apply blush and bronzer! I don't do any intense contours, partly because I don't like the way they look, but mostly because I suck at it! I used their Baked Blush in Peachy Keen and their Studio Pressed Mineral Bronzer in Caramel Cabana. I applied the blush with a giant fluffy brush so I don't look like a clown when I'm done. I applied the bronzer with a tapered blush brush first and then blended it out with the same fluffy brush that I applied my blush with. I also used this bronzer to contour my nose, but this time I used their Studio Angled Contour Brush.


Last but not least is lipstick! I'm using a lipstick from their "essential" line in the shade Charming. This color is a very nice one for spring and summer! I apply a base layer and blend it out with my fingers to get the best look!


Okay guys, that's it for my one brand tutorial featuring E.L.F! I had so much fun doing this for you guys! There will be much more of these kinds of posts coming once school is done in a little over a month! I'm so excited for summer to start so I can interact with you and work on this blog more! I've had many blogs in the past and I just lost interest with all of them! But not this time!! I love you guys and I'm so grateful that you read my posts! I hope you all have a wonderful afternoon and as always feel free to comment down below or reach out to me on my social media listed on the right side of my blog!

Xoxo,
Brig