
I hope all my readers on the East Coast is enjoying the GORGEOUS weather that has finally arrived! To accompany it, I have a super easy spring makeup tutorial for you all! So, let's just get right into it!
So here's just an overview of the look:

As you can see, it's a very neutral eye and face look with a super pretty pop of color on the lips. That's what spring makeup means to me, a neutral look and a great pop of color!
Here are all the products I used:

From left to right:
Eyes Lips Face Cosmetics Essential brushes:
- Professional Total Face Brush
- Professional Eyelash and Brow Wand
-Professional Eyeshadow Brush
- Professional Blending Eye Brush
-Mineral Pressed Bronzer in "Caramel Cabana"
-Baked Eyeshadow in "Enchanted"
Baked Blush in "Peachy Cheeky"
The eyeshadow palette is from Hard Candy and is called "Birthday Suit"
The eyeshadow primer is ELF's Mineral Eyeshadow Primer
The mascara below it is my new favorite! It is ELF's (of course!) Lengthening and Volumizing Mascara
The chubby lip pencil below the mascara is Rimmel London's Colour Rush Balm in "Sun-kissed"
The eyeliner below the lip color is Wet n' Wild's Color Icon Kohl Liner in "Calling Your Buff"
On the right side of the palette are ELF brushes from their studio line:
- Angled Contour Brush
-Flat Eyeliner Brush
I know some makeup artists say not to do your eye makeup before your face makeup but today's look is super simple and doesn't involve foundation or anything messy so I switched things up!
Here's the order I used the eyeshadow in:

 |
| Please ignore my brows, they're so horrible right now! |
The color I used as a base on my lid looks much paler because of the lighting I used but I reality is a beautiful pastel pink, perfect for a pretty neutral springtime/ Easter makeup look. You can see it a little bit better in the first picture. Oh and enjoy all the freckles I'm getting from the sunshine! No matter if I use sunscreen or not they come up at the first sign of spring!
I applied the light pink with the "Eyeshadow brush" and blended the light and dark brown in my crease with the "Blending Eye Brush". If I think that the opacity of the pink shadow was lost between all that blending I'll go back in and put on another layer. This just makes it so it looks more like a pretty pastel pink spring look and less like an everyday neutral look. Using the pink just makes it a little more special:)
After I finish my eyeshadow, I curl my lashes and apply two coats of my ELF's Lengthening and Volumizing mascara! This mascara is super lengthening but not very volumizing so it's much better for an everyday look. If you want a mascara that would give you thick lashes for a special occasion or if you just like big lashes, this is not for you. Also this mascara is super dry, but it works so I don't mind!
I totally forgot to demonstrate in this picture that I also took the light brown color I used for "2" and smudged it in my lower lash line for a smokier look. I applied to my lower lash line with the flat eyeliner brush, I got as close to the lash line as possible. The nude eyeliner also comes into play here, I used it on my waterline to look more awake, I really needed it today!
After I applied my eye makeup, I applied my face makeup. Like I said earlier, I didn't apply any foundation so I went straight for the contour!
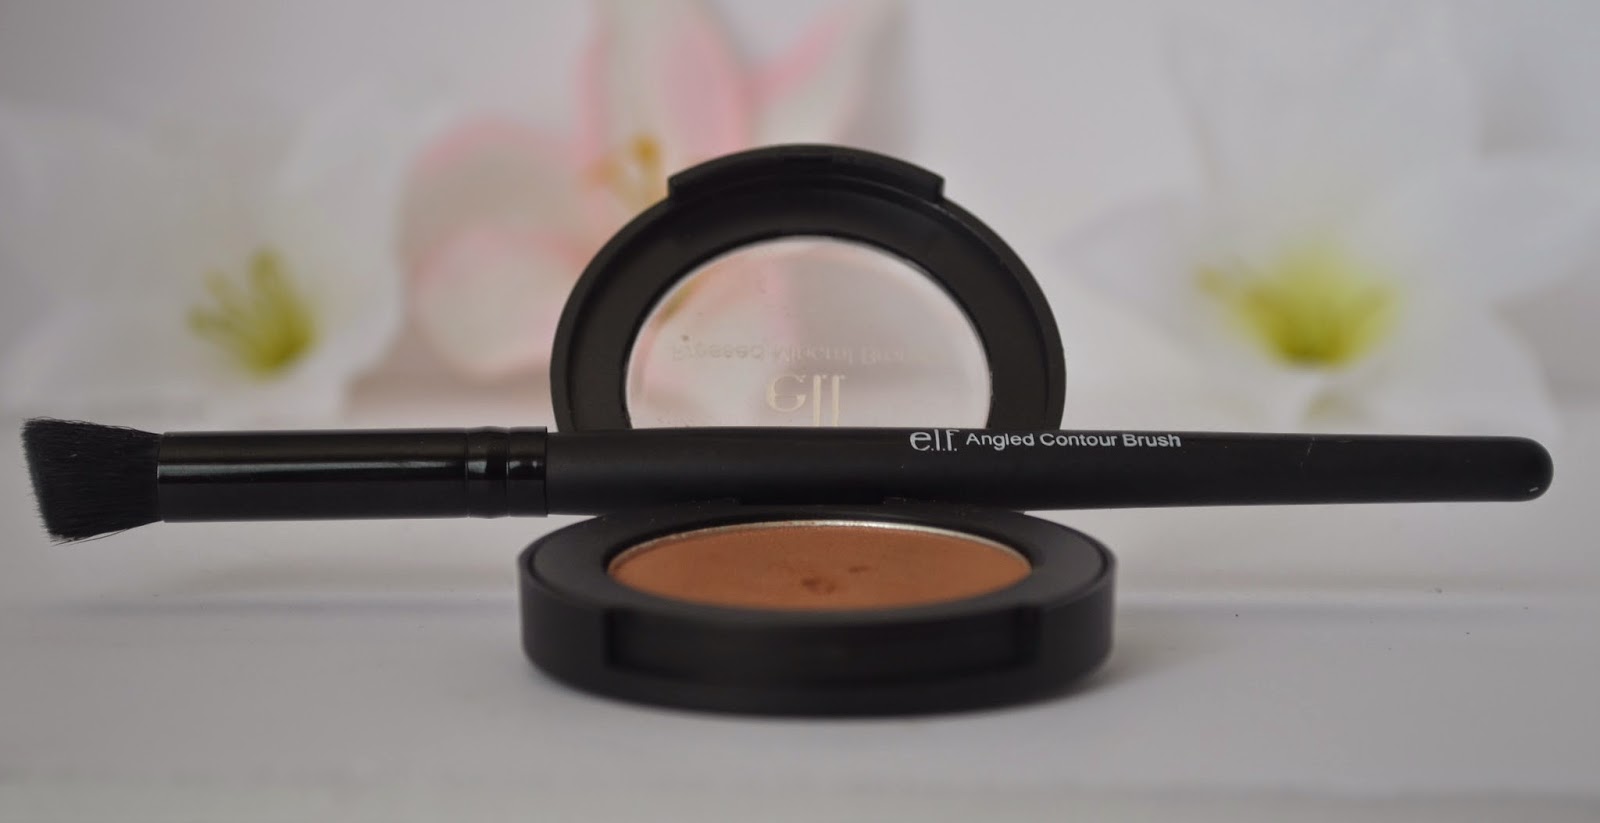
If you've been following me for a little while, you'll know that this is my current FAVORITE bronzer! It leaves a super natural finish and can be applied lightly or built depending on your preference.
I first applied this with the "Angled Contour Brush" (pictured above) to the hollows of my cheeks, under my jawline, on my hairline, and down the sides of my nose. Then I took my super fluffy "Total Face Brush" and blended it until I was happy with how light and natural it looked!
After contour, I applied blush and my baked eyeshadow super lightly as a highlight. I applied the blush to my cheeks and blended it towards my temples.

 |
| Ignore the eyeshadow brush, I did not use this on my eyes for this look! |
For the highlighter I applied it on the top of my cheekbones and blended it in the same direction as my blush. I applied it VERY lightly because the blush also has shimmer in it so I don't want to look like a sparkly clown!
Last but not least are the lips, if you didn't know this is my favorite part! Today I used my favorite coral color, Rimmel London's Colour Rush Balm in "Sun-Kissed"! I've recently put up a mini review of this color under my March Favorites so go check that out if you're interested:)
For this tutorial I didn't explain to you how to do my brows, mainly because I'm planning to do a separate tutorial for them but also because today they were insanely messy!
Okay guys that's it for my tutorial on my favorite springtime/ Easter look! I've been having so much fun planning tutorials and posts for you guys! As always feel free to comment down below to leave requests or find me on my social media! Love you all:)
Xoxo,
Brig
This company has many makeup brands for an affordable price, including NYX, L.A Girls, Jordana and more!
No comments:
Post a Comment